If you are unable to finish the lab in the ProLUG lab environment we ask you
rebootthe machine from the command line so that other students will have the intended environment.
Required Materials
Putty or other connection tool Lab Server
Root or sudo command access
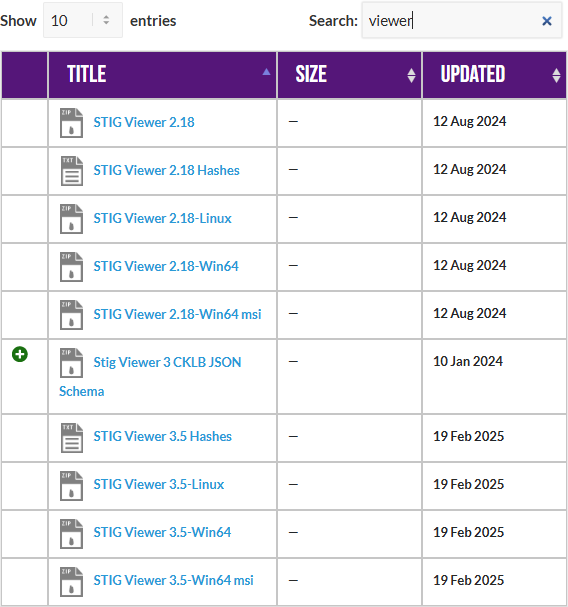
STIG Viewer 2.18 (download from https://public.cyber.mil/stigs/downloads/)
Downloads
The lab has been provided below. The document(s) can be transposed to
the desired format so long as the content is preserved. For example, the .docx
could be transposed to a .md file.
Pre-Lab Warm-Up
EXERCISES (Warmup to quickly run through your system and familiarize yourself)
sysctl -a | grep -i ipv4 | grep -i forward
# Does this system appear to be set to forward? Why or why not?
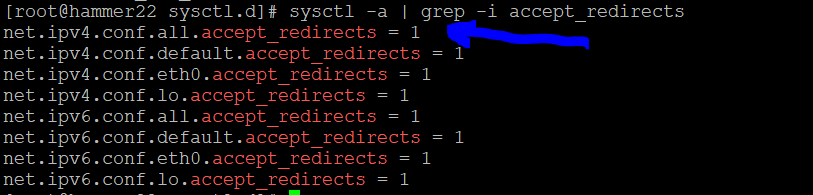
sysctl -a | grep -i ipv4 | grep -i martian
# What are martians and is this system allowing them?
sysctl -a | grep -i panic
# How does this system handle panics?
sysctl -a | grep -i crypto
# What are the settings you see? Is FIPS enabled?
cat /proc/cmdline
fips-mode-setup --check
sestatus
cat /etc/selinux/config
What information about the security posture of the system can you see here?
Can you verify SELINUX status?
Can you verify FIPS status?
Download the STIG Viewer 2.18 from - https://public.cyber.mil/stigs/downloads/
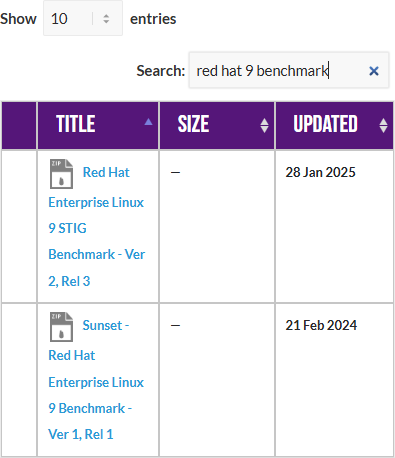
Download the STIG for RHEL 9 and the import it into your STIG viewer
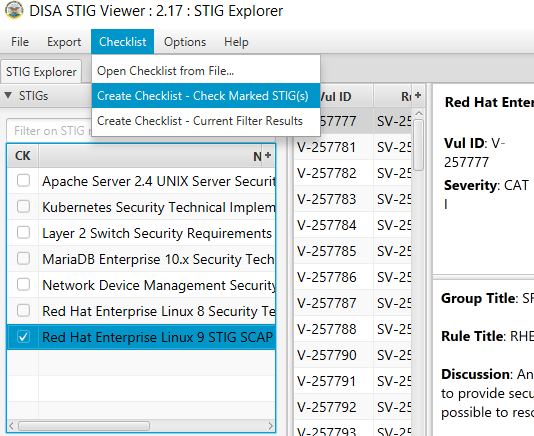
Create a checklist from the opened STIG for RHEL 9
Lab 🧪
This lab is designed to have the engineer practice securing a Linux server or service against a set of configuration standards. These standards are sometimes called benchmarks, checklists, or guidelines. The engineer will be using STIG Viewer 2.18 to complete this lab.
Network Service configuration
Connect to a hammer server
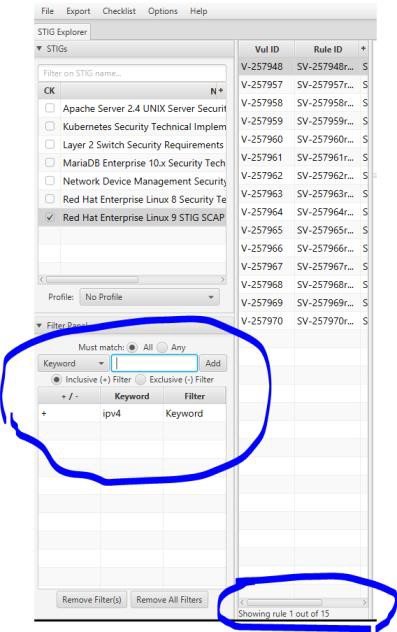
Filter by ipv4 and see how many STIGs you have.
Examine STIG V-257957
What is the problem?
What is the fix?
What type of control is being implemented?
Is it set properly on your system?
sysctl -a | grep -i ipv4 | grep -i syncookies

Can you remediate this finding?
In this case it's already correctly set.
But if we needed to, we would set that value in /etc/sysctl.d/00- remediate.conf
And then reload sysctl with sysctl --system
Check and remediate V-257958 STIG
What is the problem?
What is the fix?
What type of control is being implemented?
Is it set properly on your system?
How would you go about remediating this on your system?
Check and remediate V-257960 and V-257961 STIGs
What is the problem? How are they related?
What is the fix?
What type of control is being implemented?
Is it set properly on your system?
Filter by firewall
How many STIGS do you see?
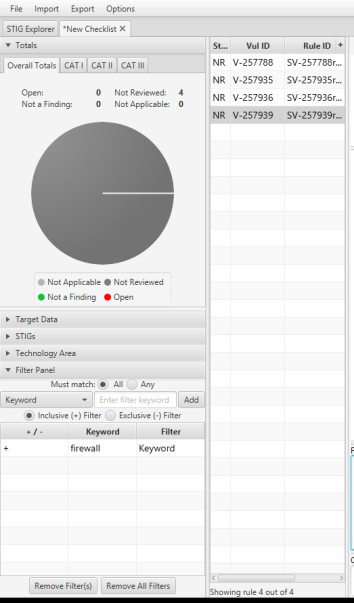
What do these STIGS appear to be trying to do? What types of controls are they?
Firewall port exposure
Scenario:
Your team needs to use node_exporter with Prometheus to allow scraping of system information back to your network monitoring solution. You are running a firewall, so you need to expose the port that node_exporter runs on to the network outside of your system.
Expose a network port through your firewall
# Verify that your firewall is running
systemctl status firewalld

# Verify that your firewall has the service defined
firewall-cmd --get-services | grep -i node
ls /usr/lib/firewalld/services | grep -i node

# Verify that the service is not currently enabled for node_exporter
firewall-cmd --list-services

# Examine the structure of the firewall .xml file
cat /usr/lib/firewalld/services/prometheus-node-exporter.xml

# Enable the service through your firewall
firewall-cmd --permanent --add-service=prometheus-node-exporter

# Reload so the changes take effect
firewall-cmd --reload

# Verify that the service is currently enabled for node_exporter
firewall-cmd --list-services
Automate STIG remediation on a system
There are many options and the STIG remediation steps are well known. Here the learner will examine a few ways to generate Ansible and Shell fixes to your system. Then one can apply all of them, or just some of them. This is the real value of a security engineer focused Linux engineer, the trade-off between security and productivity.
Download and extract a STIG remediation tool
/labs folder on the server for a [course]_[unit#].zip file to complete the activities.
cd /root
mkdir stigs
cd stigs
wget -O U_RHEL_9_V2R4_STIG_Ansible.zip https://dl.dod.cyber.mil/wp-content/uploads/stigs/zip/U_RHEL_9_V2R4_STIG_Ansible.zip
unzip U_RHEL_9_V2R4_STIG_Ansible.zip
mkdir ansible
cp rhel9STIG-ansible.zip ansible/
cd ansible
unzip rhel9STIG-ansible.zip
Examine the default values for STIGS
cd /root/stigs/ansible/roles/rhel9STIG/defaults/
vim main.yml
Search for a few of the STIG numbers you used earlier and see their default values.
- use /257784 to search
Examine the playbook to see how those are applied in a running system.
vim /root/stigs/ansible/roles/rhel9STIG/tasks/main.yml
- use /257784 to search for the STIG from above and see how it is fixed in the playbook.
Create an Ansible playbook from OpenSCAP
dnf -y install openscap-scanner openscap-utils openscap-scanner scap-security-guide
cd /root
mkdir openscap
cd openscap

# Generate the Ansible
oscap xccdf generate fix --profile ospp --fix-type ansible /usr/share/xml/scap/ssg/content/ssg-rhel9-ds.xml > draft-disa-remediate.yml

# Examine the file
vim draft-disa-remediate.yml

# Generate a BASH version
oscap xccdf generate fix --profile ospp --fix-type bash /usr/share/xml/scap/ssg/content/ssg-rhel9-ds.xml > draft-disa-remediate.sh

# Examine the file
vim draf-disa-remediate.sh
Be sure to
rebootthe lab machine from the command line when you are done.